If you want to enhance your outdoor space with a beautiful, low-maintenance lawn, installing GardenCraft synthetic turf could be the perfect solution. In this HowTo guide, we’ll walk you through the entire process, from preparation to the finishing touches. By the end, you'll have a lush, green lawn that requires minimal upkeep.
Step 1: Measure & Excavate
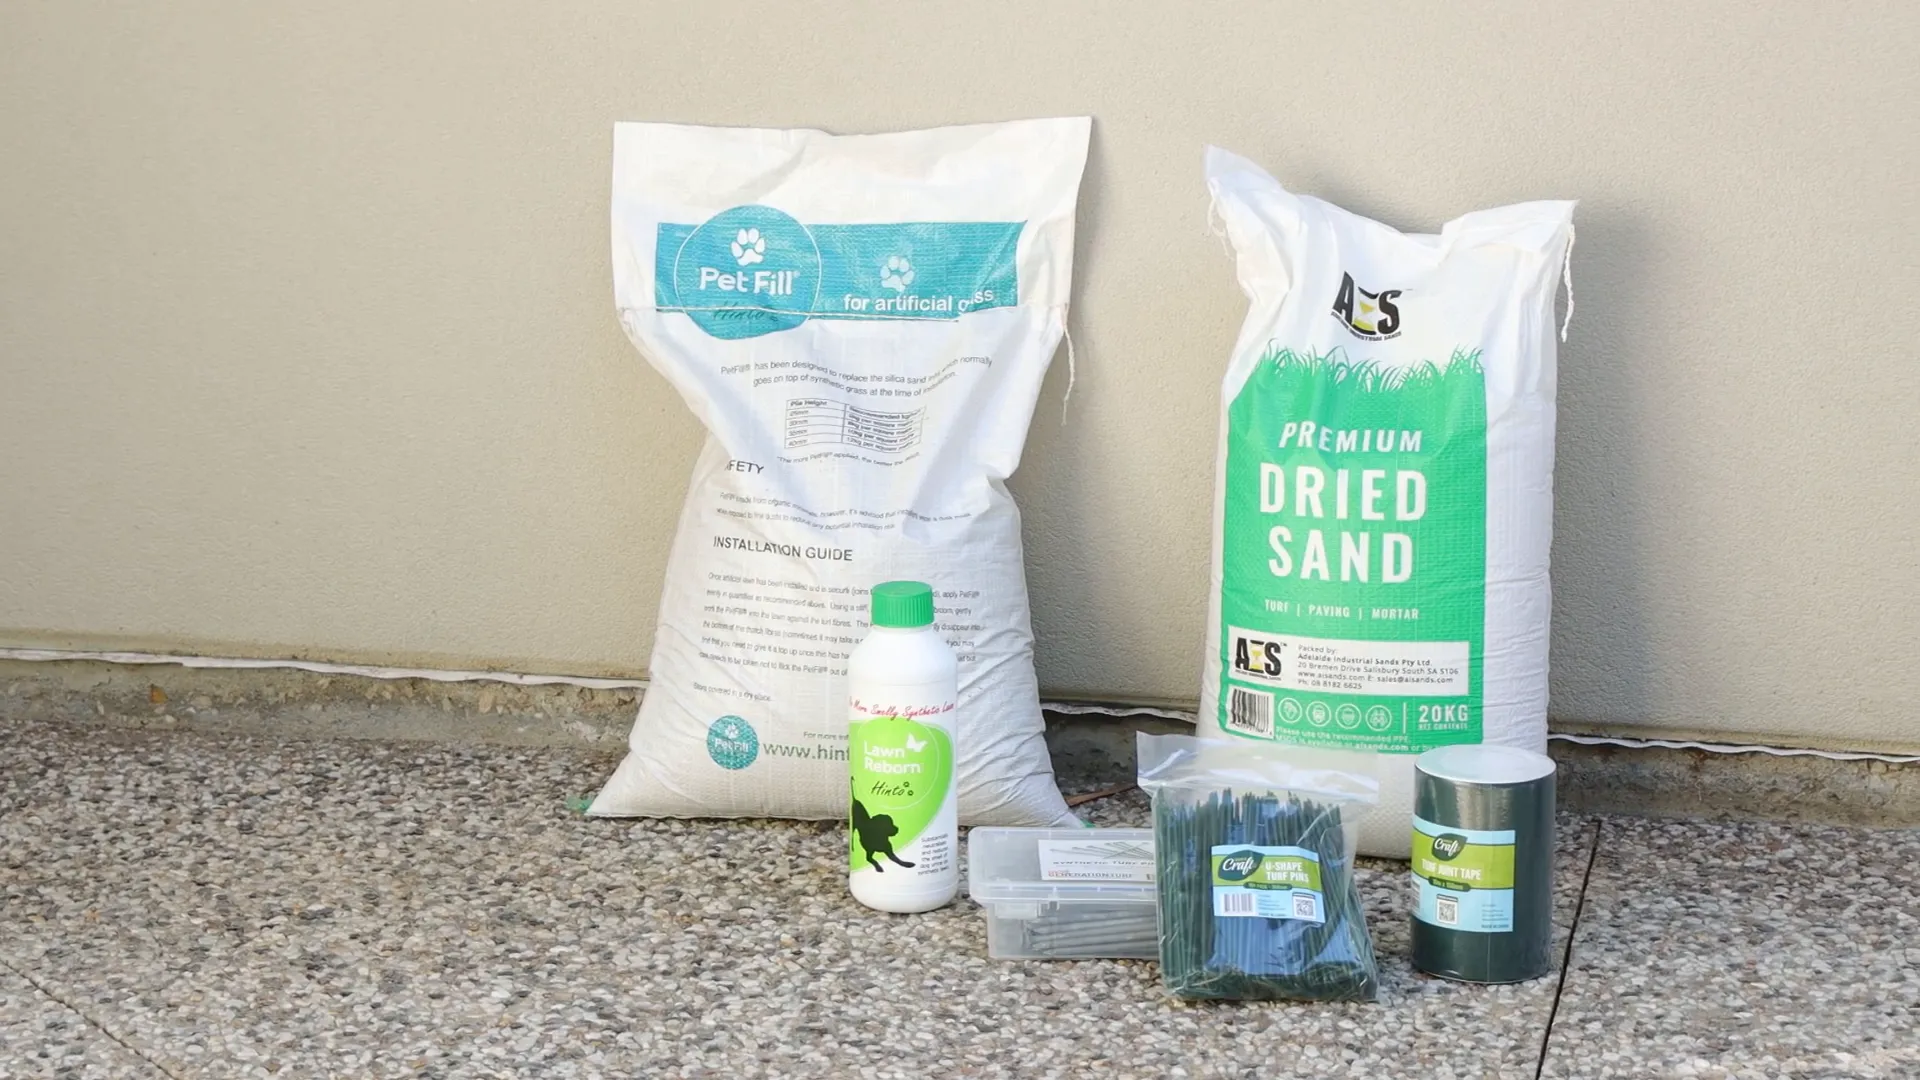
Before starting, choose your preferred turf pile height—7mm, 18mm, or 35mm—from the GardenCraft synthetic turf range to suit your needs. Ensure you have all the required tools and materials to complete your project.
- Measure and mark out the area, calculating the total square metres required.
- Excavate the existing lawn, including any roots and soil, to a depth of 100mm. This ensures a stable base and proper drainage for your synthetic turf. If removing live lawns or plants, consider treating the area to avoid future growth through your new artificial turf.
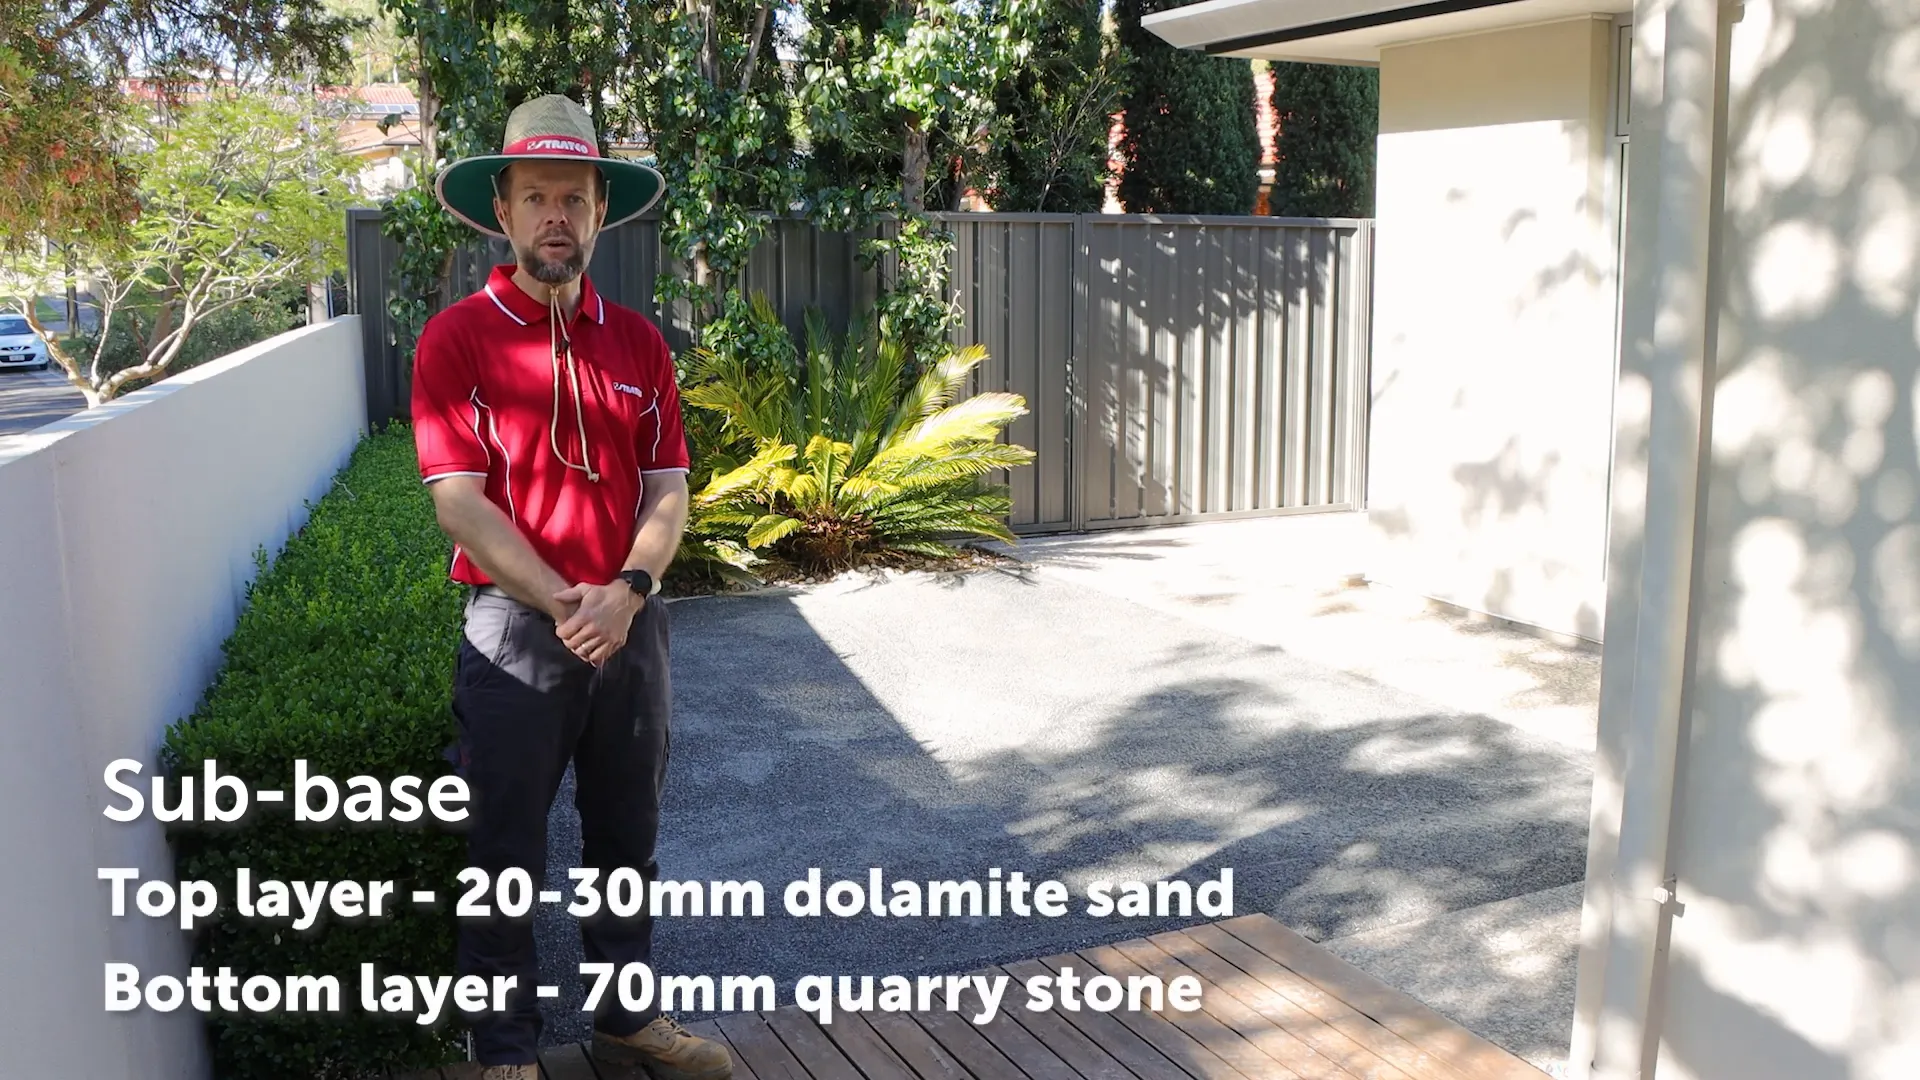
Step 2: Install the Base
A strong, well-prepared base is crucial for a long-lasting installation. Follow these steps to create a solid foundation:
- Spread a 70mm layer of quarry stone evenly across the entire area.
- Dampen the stone with a garden hose and compact it firmly using a vibrating plate compactor.
- Add a 30mm layer of dolomite sand, dampen it, and compact it again.
- Depending on your chosen pile height, the final level of your base should be between 5mm and 25mm below the surrounding edge to create a flush finish.
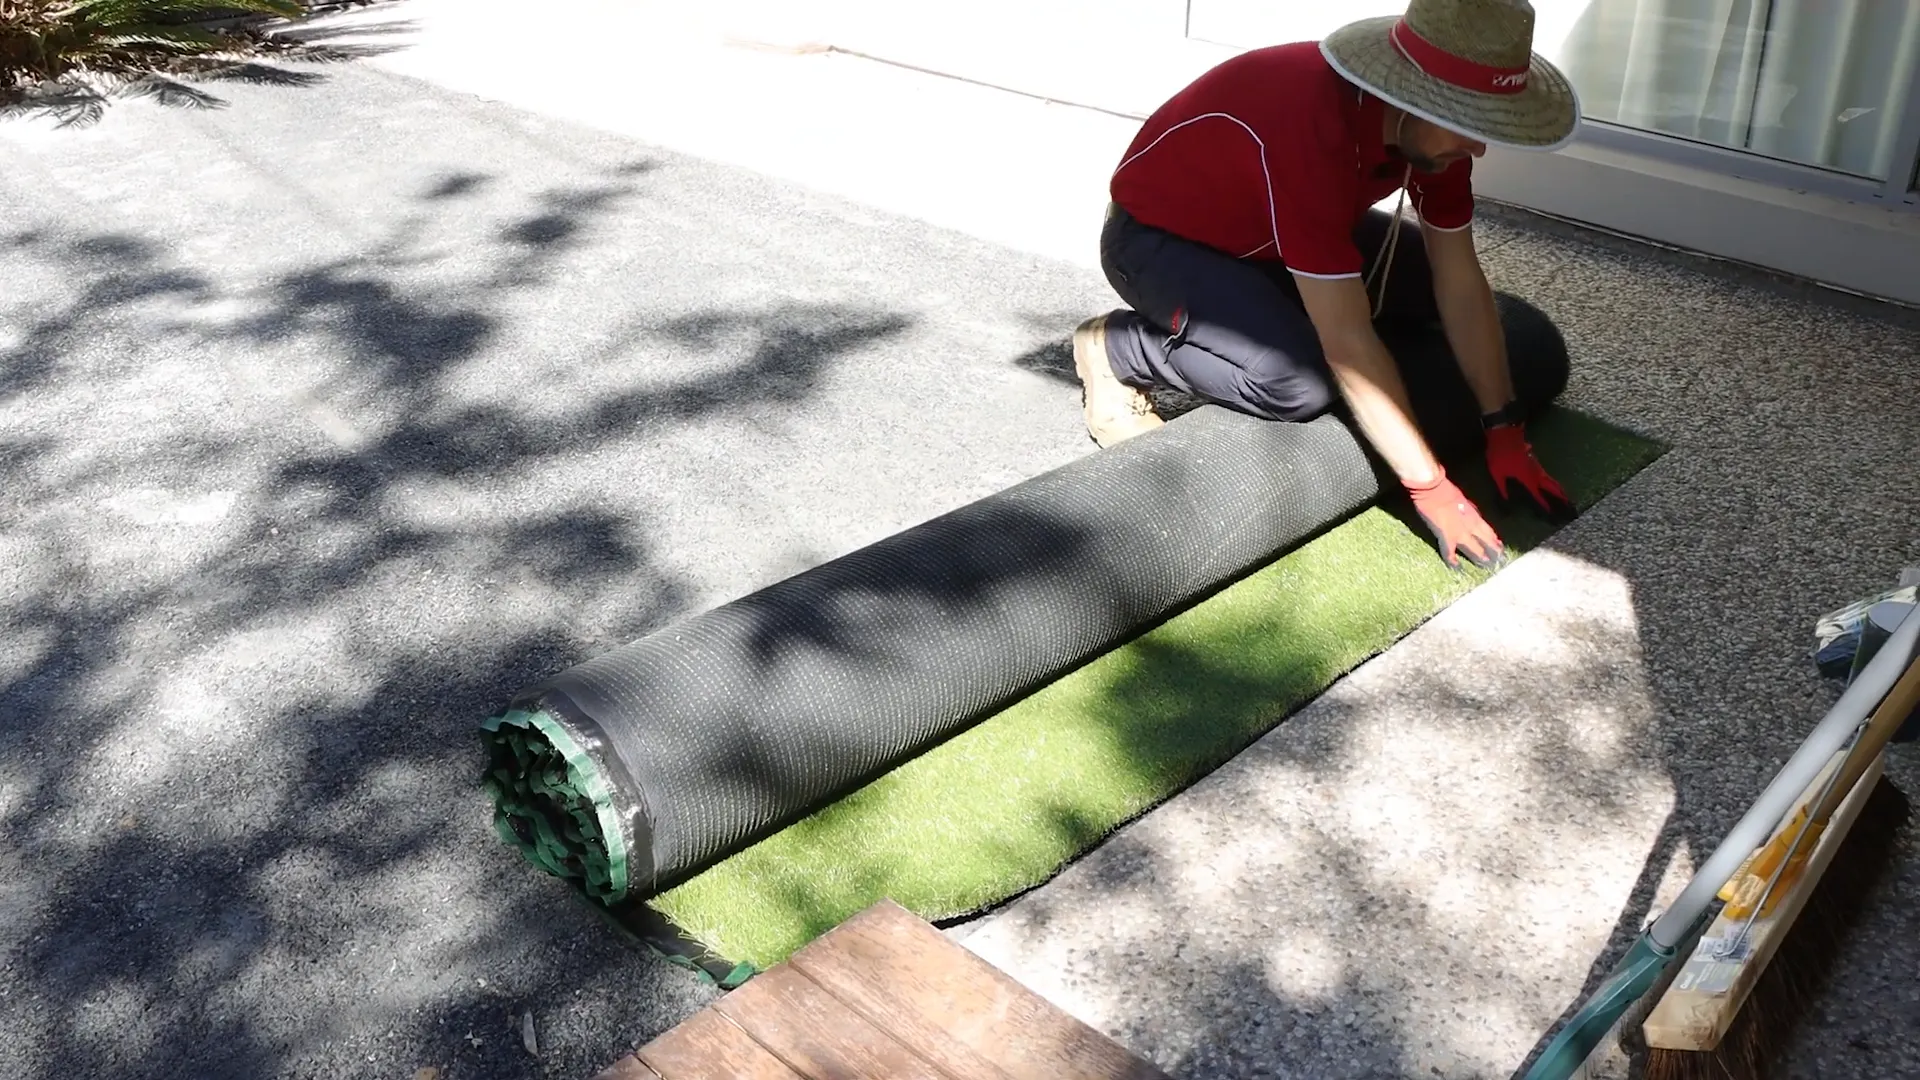
Step 3: Lay the Synthetic Turf
With the base prepared, it’s time to roll out your synthetic turf and secure it in place.
- Lay out the turf, ensuring that the blades on each roll flow in the same direction for a natural appearance.
- Cut the turf to size, leaving a slight overlap to allow for precise trimming.
- If using multiple rolls, join them using synthetic turf joint tape. Peel back the tape and position it between the two pieces, then press firmly to create a seamless look.
- Secure the turf along the joins and around the perimeter using turf pins every 300mm to prevent movement.
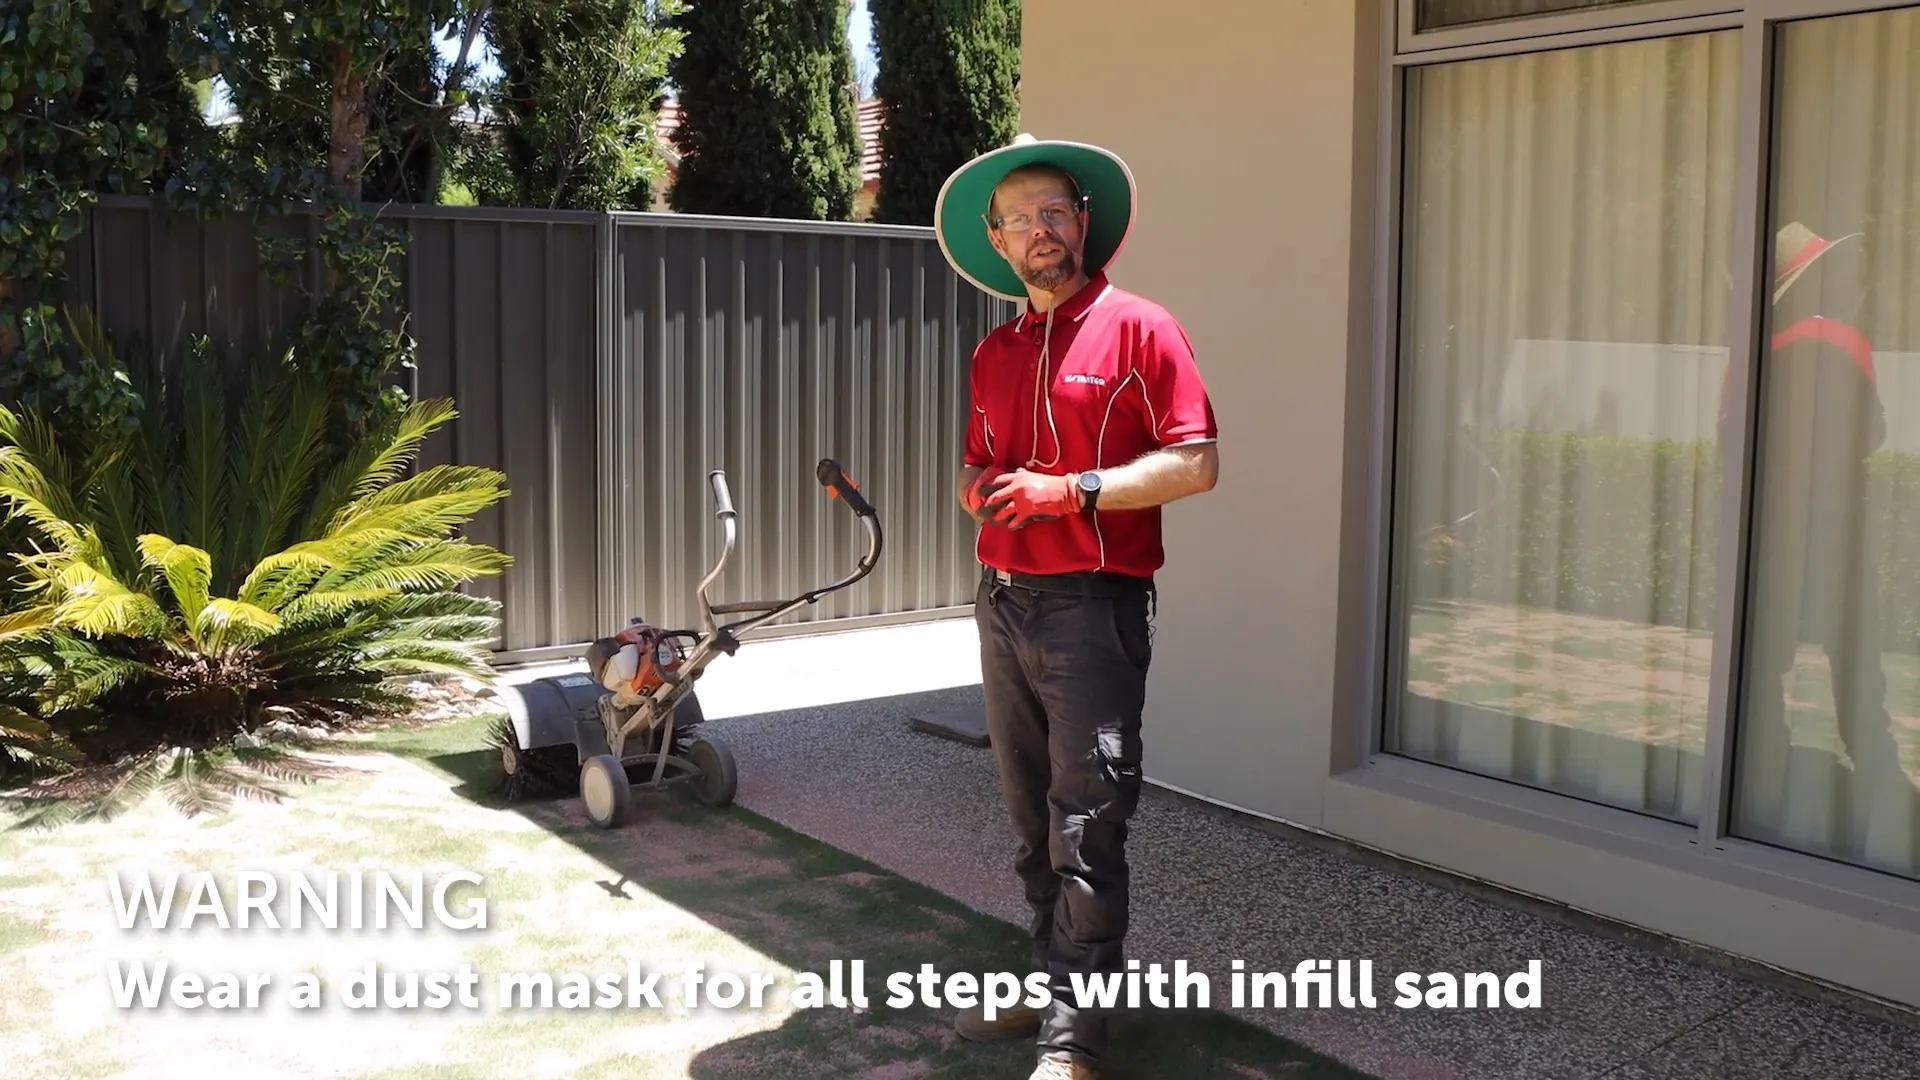
Step 4: Add Sand & Finish
Infill sand is essential for maintaining the appearance and longevity of your synthetic turf. It helps the blades stand upright, adds weight to keep the turf in place, and provides UV protection.
- Use a synthetic turf rake, stiff broom, or power broom to brush the turf.
- Spread dried sand evenly across the entire area. The amount required depends on the pile height (e.g., a 35mm turf needs approximately 10kg of infill per square metre). Pet owners should use PetFill sand, a specially formulated product designed to significantly reduce the smell of pet urine.
- Brush again to ensure the blades stand upright and the sand is evenly distributed.
- Finish by lightly misting the turf with water. This prevents the sand from blowing away and helps it settle properly.
Enjoy Your New Lawn!
Congratulations! You’ve successfully installed your GardenCraft synthetic turf. Not only does it enhance the look of your outdoor space, but it also significantly reduces maintenance time and effort.
With proper care, your synthetic lawn will stay lush and green for years, providing a comfortable and inviting area for family and friends to enjoy. Whether for a garden, balcony, play area, or another outdoor space, GardenCraft synthetic turf is a durable and practical choice that keeps your yard looking pristine all year round. If you're interested in getting a quote for your synthetic turf project or have some questions specific to your backyard, then feel free to contact us or visit your local Stratco store!